はじめに
Flutterについては、様々なサイトで説明されているので省きますが、簡単に言うと、Googleによって開発されたクロスプラットフォームによる開発技術です。
今回は、このFlutterの開発環境をMacOSに構築する備忘録です。
システム要件
- OS:64bit環境
- ディスク空き容量:2.8GB以上
- ツール(以下のCLIツールが利用できること)
- bash
- curl
- git 2.x
- mkdir
- rm
- unzip
- witch
- zip
構築環境
筆者が構築した環境は下記の通りです。
(各ソフトウェアがインストールされていること。)
- macOS Catalina(Version 10.15.51)
- XCode(Version 11.5)
- Android Studio 4.0
Flutterのインストール
1. Flutter SDKのダウンロード
下記からSDKをダウンロードする

ダウンロードが完了したら、ファイルを解凍しておきます。
解凍したファイルは、好きなフォルダにコピーしておいてください。(筆者は「~Environment¥Flutter」フォルダに配置)
2. パスを通しておく
注意が必要なのが、実行するデフォルトシェルによって保存するファイルが違います。
【Zshの場合】
$ vim ~/.zshrc【bashの場合】
$ vim ~/.bash_profile下記を追加します。
$ export PATH="$PATH:$HOME/Environment/fulutter/bin"上記追加後、設定を反映します。
【zshの場合】
$ source ~/.zshrc【bashの場合】
$ source ~/.bash_profileパスが通ったかどうかを確認します。
$ which flutter
/Users/[ユーザ名]/Environment/flutter/bin/flutter
ちゃんと通りました。
3. 依存性の確認
flutterの依存性の確認を行います。
$ flutter doctor以下のように出力されます。
  ╔════════════════════════════════════════════════════════════════════════════╗
  ║                 Welcome to Flutter! - https://flutter.dev                  ║
  ║                                                                            ║
  ║ The Flutter tool uses Google Analytics to anonymously report feature usage ║
  ║ statistics and basic crash reports. This data is used to help improve      ║
  ║ Flutter tools over time.                                                   ║
  ║                                                                            ║
  ║ Flutter tool analytics are not sent on the very first run. To disable      ║
  ║ reporting, type 'flutter config --no-analytics'. To display the current    ║
  ║ setting, type 'flutter config'. If you opt out of analytics, an opt-out    ║
  ║ event will be sent, and then no further information will be sent by the    ║
  ║ Flutter tool.                                                              ║
  ║                                                                            ║
  ║ By downloading the Flutter SDK, you agree to the Google Terms of Service.  ║
  ║ Note: The Google Privacy Policy describes how data is handled in this      ║
  ║ service.                                                                   ║
  ║                                                                            ║
  ║ Moreover, Flutter includes the Dart SDK, which may send usage metrics and  ║
  ║ crash reports to Google.                                                   ║
  ║                                                                            ║
  ║ Read about data we send with crash reports:                                ║
  ║ https://flutter.dev/docs/reference/crash-reporting                         ║
  ║                                                                            ║
  ║ See Google's privacy policy:                                               ║
  ║ https://policies.google.com/privacy                                        ║
  ╚════════════════════════════════════════════════════════════════════════════╝

Doctor summary (to see all details, run flutter doctor -v):
[✓] Flutter (Channel stable, v1.17.3, on Mac OS X 10.15.5 19F101, locale ja-JP)

[!] Android toolchain - develop for Android devices (Android SDK version 30.0.0)
    ✗ Android licenses not accepted.  To resolve this, run: flutter doctor --android-licenses
[!] Xcode - develop for iOS and macOS (Xcode 11.5)
    ✗ CocoaPods not installed.
        CocoaPods is used to retrieve the iOS and macOS platform side's plugin code that responds to your plugin usage on the Dart side.
        Without CocoaPods, plugins will not work on iOS or macOS.
        For more info, see https://flutter.dev/platform-plugins
      To install:
        sudo gem install cocoapods
[✓] Android Studio (version 4.0)
[!] VS Code (version 1.46.0)
    ✗ Flutter extension not installed; install from
      https://marketplace.visualstudio.com/items?itemName=Dart-Code.flutter
[!] Connected device
    ! No devices available

! Doctor found issues in 4 categories.
すべてOKではなく、いくつかチェックされていない項目がありますね。
以下より解決していきます。
Android licenses not accepted. To resolve this, run: flutter doctor –android-licenses
これはAndroidのライセンスが許可されていないとの指摘です。
以下コマンドで許可します。(7つライセンス全て同意します)
$flutter doctor --android-licenses

7 of 7 SDK package licenses not accepted. 100% Computing updates...
Review licenses that have not been accepted (y/N)? y
上記すべて同意後、再度依存性チェックかけてみます。
[✓] Android toolchain - develop for Android devices (Android SDK version 30.0.0)
CocoaPods not installed.
CocoaPodsがインストールされていないとのこと。
記載されている通り、インストールコマンドを実行します。
$ sudo gem install cocoapodsインストールが完了後、再度依存性チェックをかけてみます。
[✓] Xcode - develop for iOS and macOS (Xcode 11.5)
Flutter extension not installed; install from
VSCodeにFlutterの拡張機能がインストールされていないとの指摘。
VSCodeにFlutter拡張機能をインストールします。
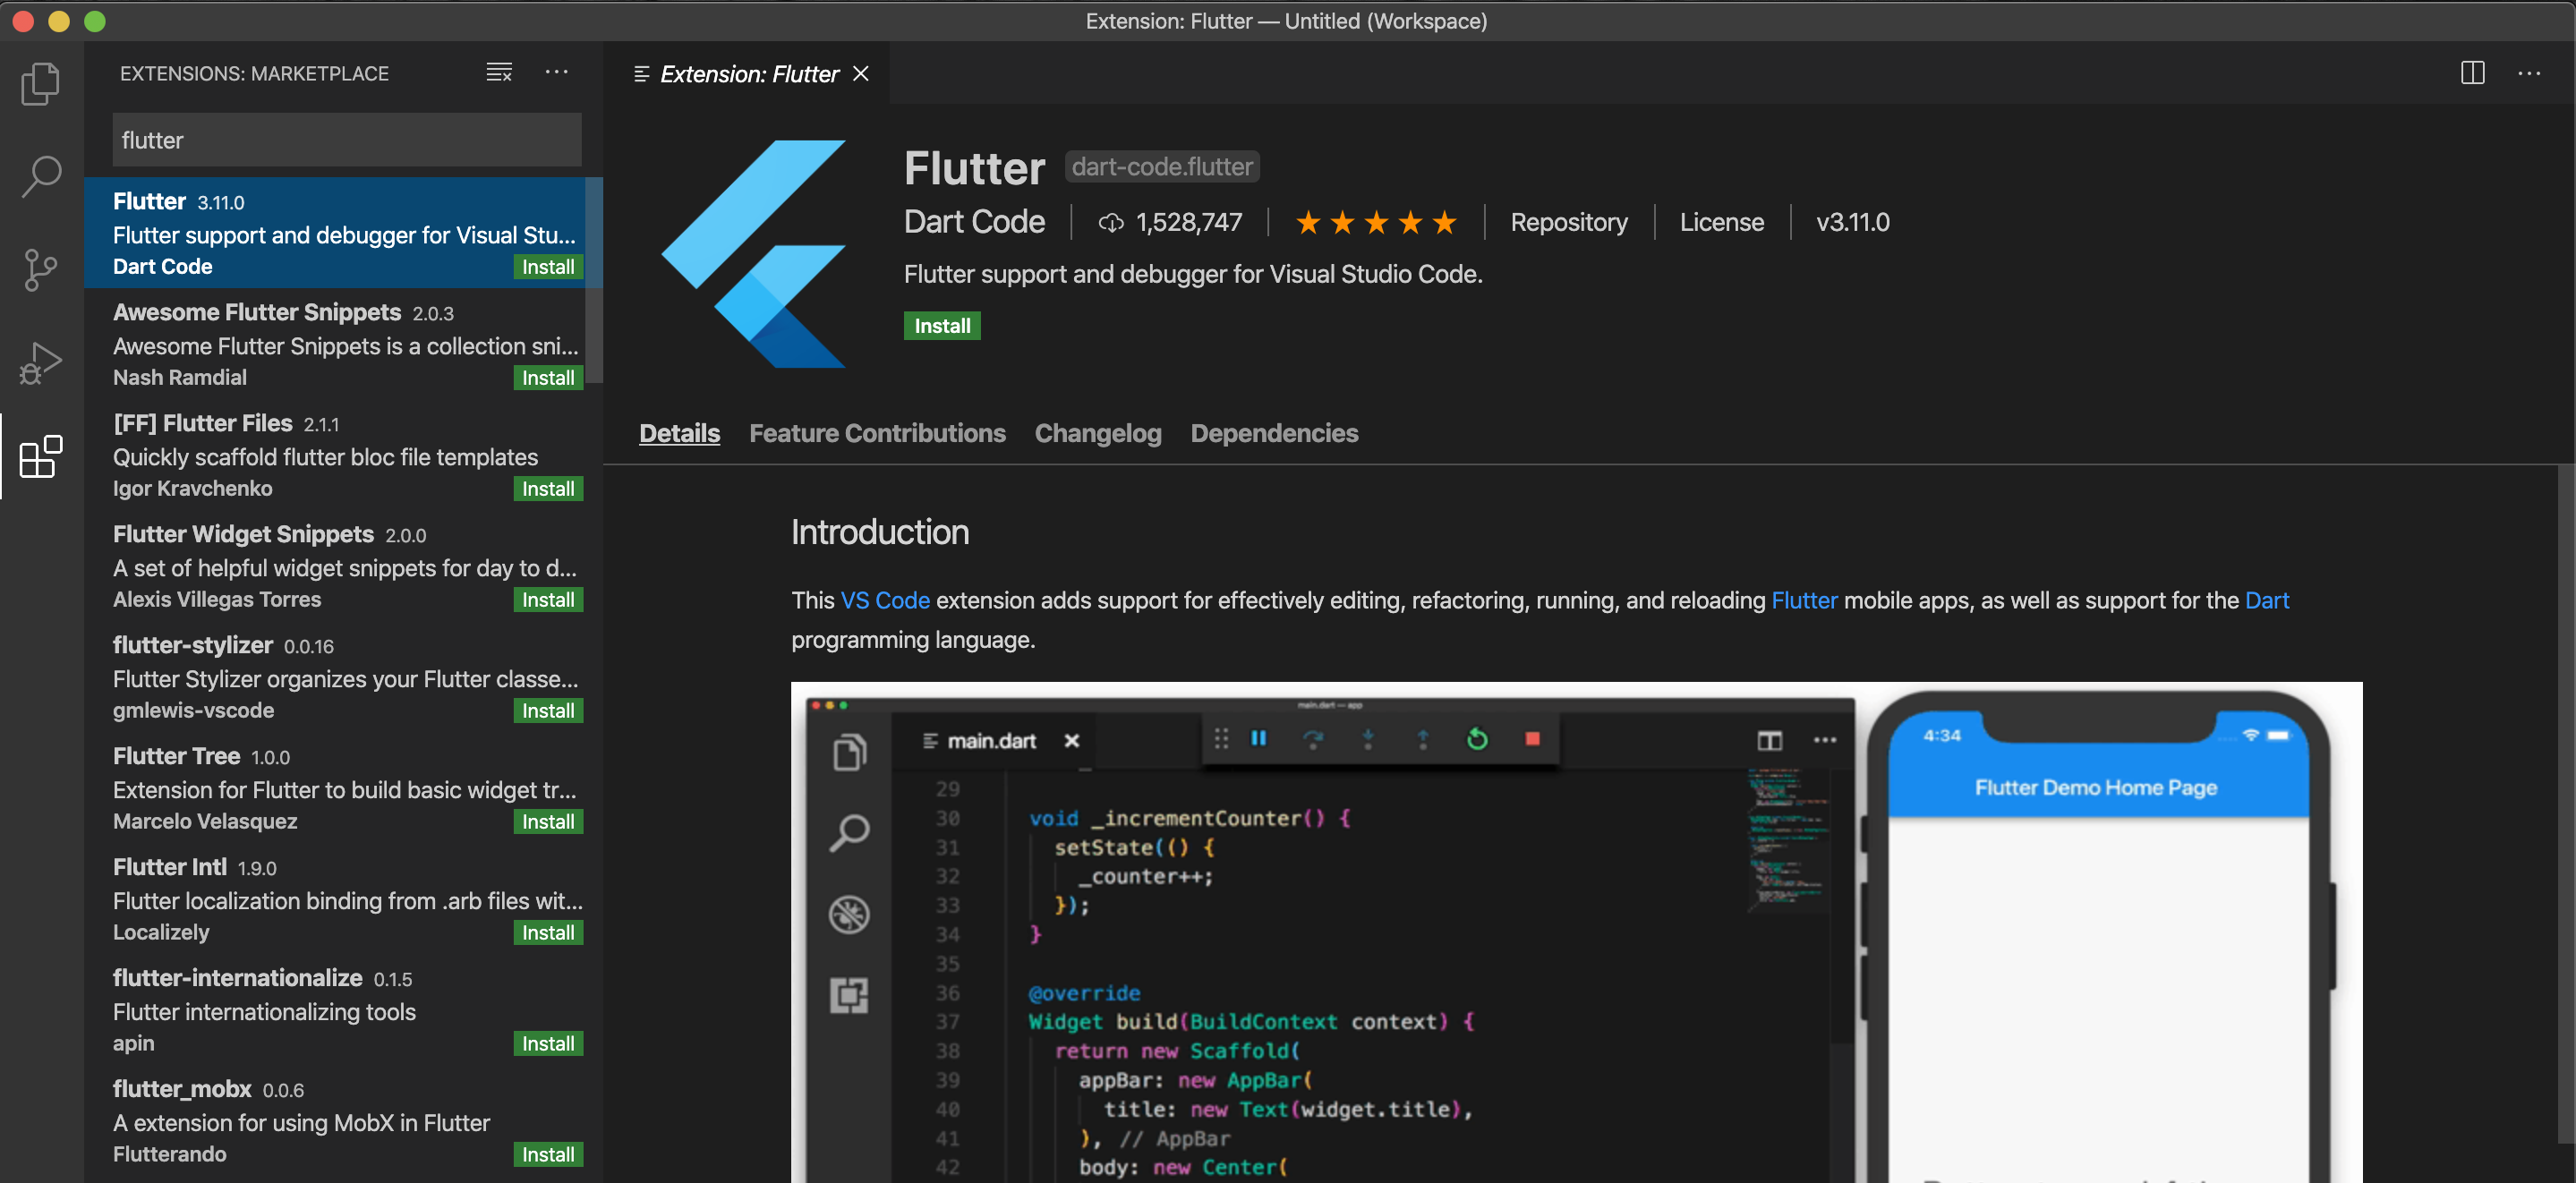
インストールが完了後、再度依存性チェックをかけてみます。
[✓] VS Code (version 1.46.0)
No devices available
XCodeインストールのみで、シミュレータを設定していなかったので、まずはシミュレータを起動します。
open -a Simulator.appシミュレータが立ち上がった状態で、再度依存性確認を行ます。
[✓] Connected device (1 available) これで、すべての依存性のチェックが完了です。
上記意外の依存性チェック(備考)
Android StudioにFlutterプラグインをインストール
Android Studioの依存性チェックに対して指摘がああった場合は、以下のようにプラグインをインストールします。
1) 「Preference」をクリックする

2) 「Plugins」を選択し、「flutter」を入力し検索する
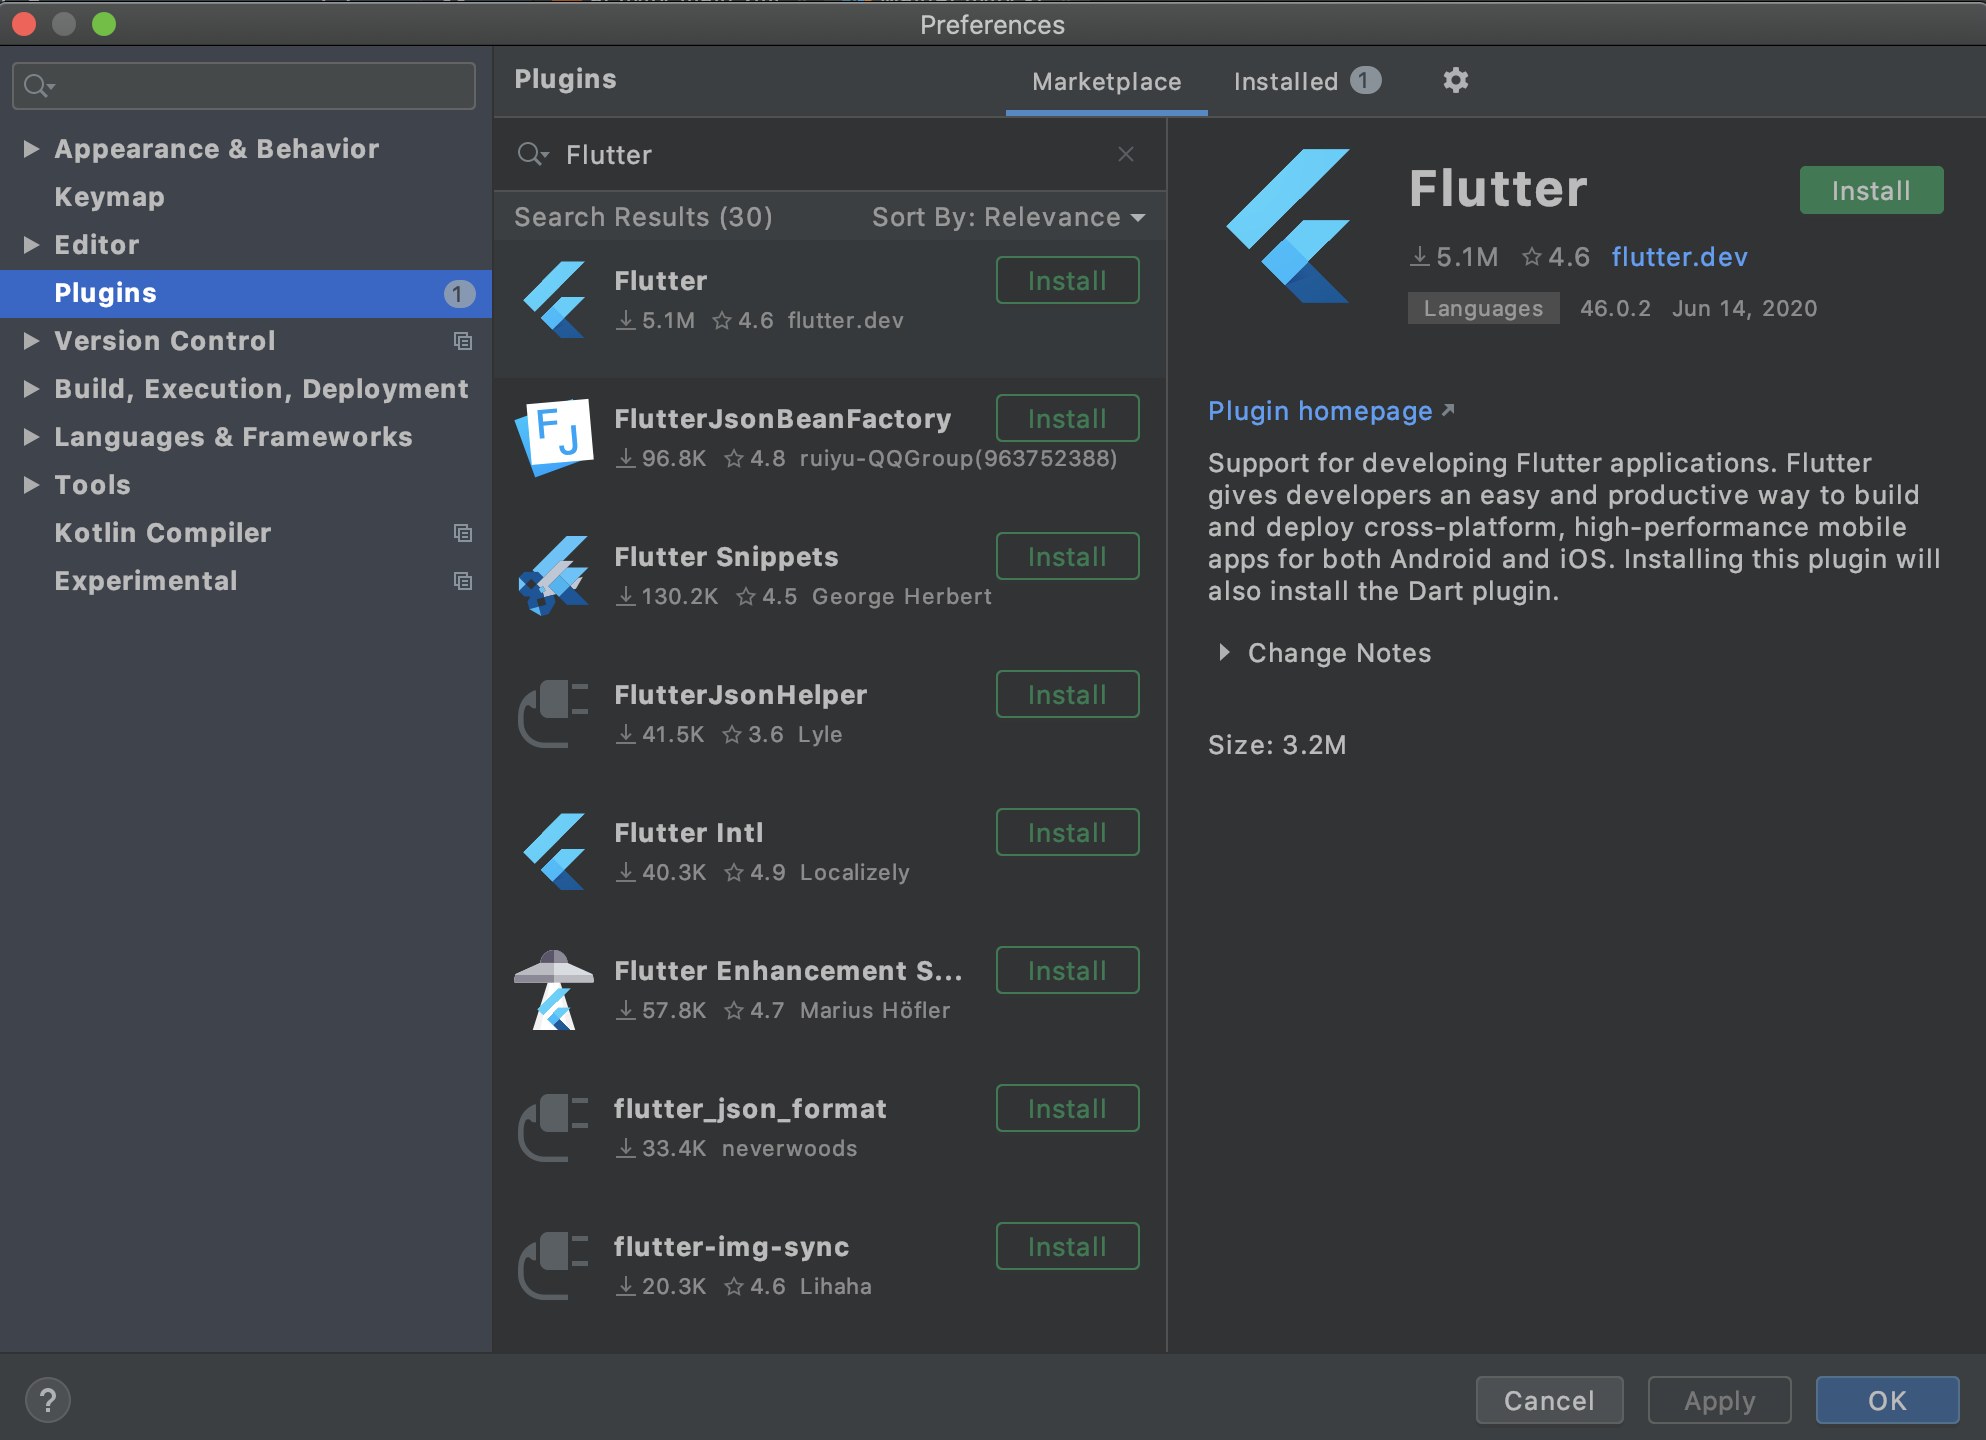
3) 「Accept」をクリックする

4) 「Install」をクリックする

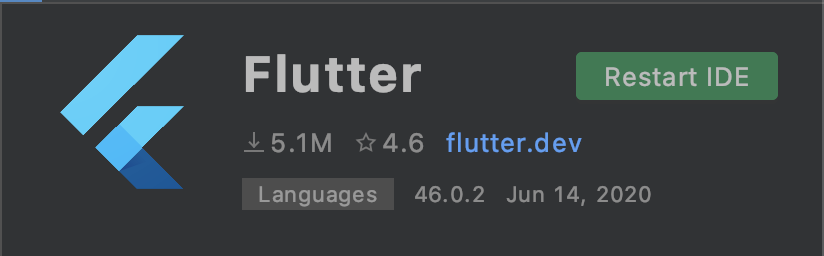
5) 「Restart IDE」をクリックし、Android Studioを再起動する
上記で完了です
初期作成
1. プロジェクトの作成
プロジェクトを作成するフォルダに移動し、以下のコマンドを実行します。
# 今回は下記にプロジェクトを作成
$ cd ~/Project/Flutter

$ flutter create sampleApp

〜中略〜
All done!
〜中略〜
Your application code is in sampleApp/lib/main.dart.
上記でプロジェクトが作成されます。
2. 実行
作成されたプロジェクトフォルダに移動し、runコマンドを実行します。
(実行する前にシミュレータを起動しておくこと)
$ open -a Simulator.app
$ cd sampleApp
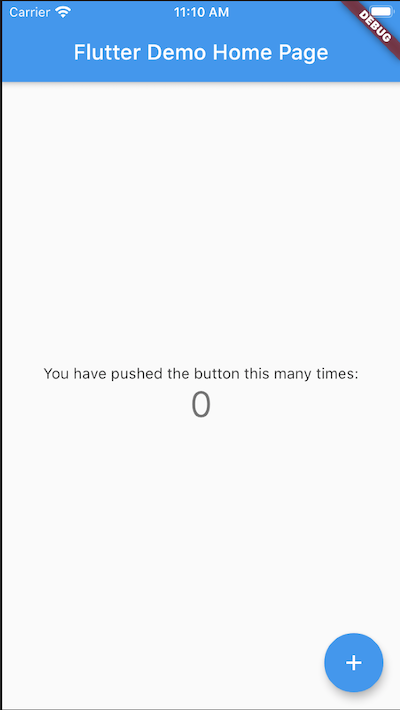
$ flutter run
下記のように立ち上がればOKです。
さいごに
クロスプラットフォーム開発でどれがいいかなぁといろいろなサイトをみてたけど、flutterが一番自分にあってそうなので、開発環境構築の備忘録を残しておきます。